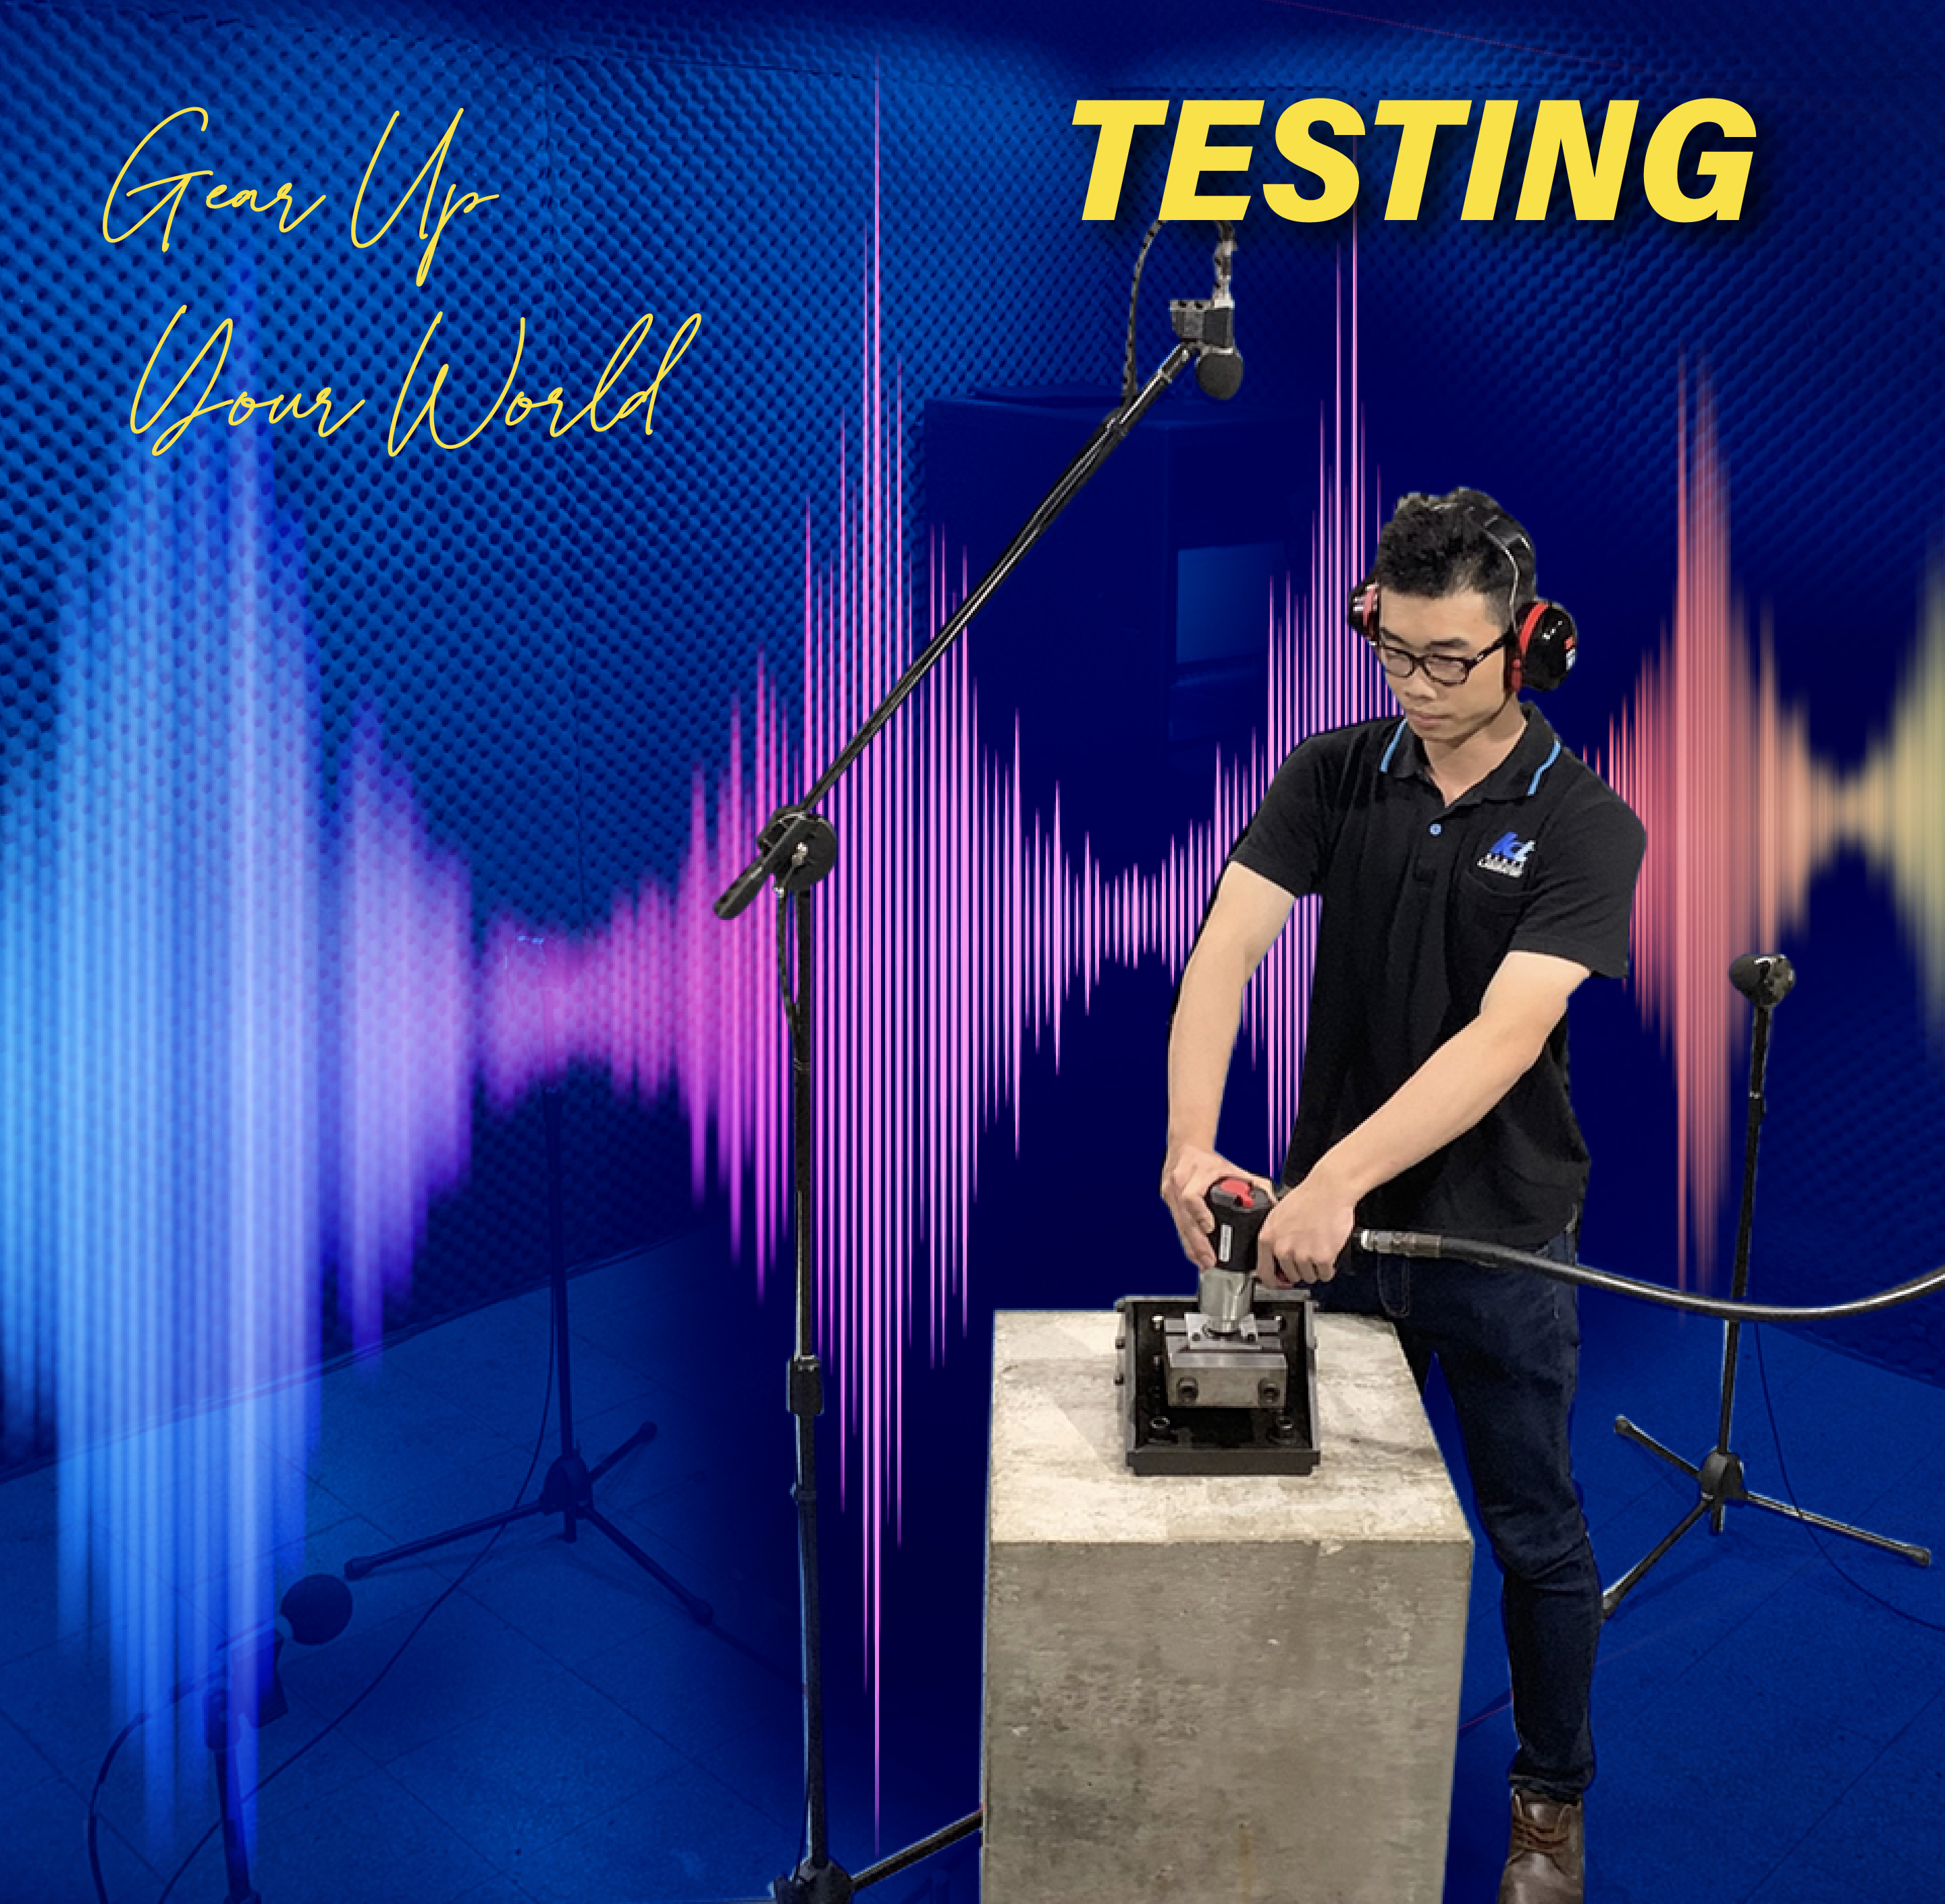
Kente Co Ltd is the first Vibration and Noise of Power Tool Testing Laboratory (Accreditation No. 2411) in Taiwan and was
established by KUANI in 2010. It complies with ISO/IEC 17025 has been certificated by
Taiwan Accreditation Foundation (TAF)
and
ILAC Mutual Recognition Arrangement (ILAC-MRA)
. |
 |
This laboratory is capable to assess the vibration and noise level of portable power tools with following the 2006/42/EC
Machinery Directive, ISO 11148, ISO 28927 and ISO 15744. |
|
1.Capability |
In Taiwan, KENTE is the first and has so far been the only certificated laboratory for conducting testing Vibration and Noise of
Portable Power Tools with following the ISO standards indicated by CE machinery safety directive 2006/42/EC. |
|
2. Test Environment |
The setup of KENTE laboratory test environment complies with
◆ |
the ISO 3744 for measuring the levels of noise, and |
◆ |
the ISO 28927 series for measuring levels of vibration emission. |
|
|
3. Instruments |
To ensure qualified measurements, KENTE adopt the Brüel & Kjær instruments for measuring both sound and vibration. The
instruments are annually calibrated by
National Measurement Laboratory R.O.C (NML R.O.C.)
and the calibration reports are
properly filed for tracking. |
|
4. Team Member |
The laboratory director and testers are all qualified for the requirements of ISO 17025, and are certified as the Report Signatory by TAF. |
|
5. Recognition of Report |
The reports issued by KENTE are recognized by all accreditation bodies that are signatories to the ILAC MRA.
You may check here:
< http://ilac.org/ilac-mra-and-signatories/>
< http://www.taftw.org.tw/dispPageBox/TAFTWCP.aspx?ddsPageID=TWINTERCOOPB&> |
|
Accredited Scope of Testing Field: |
ISO 8862-1
General
ISO 15744
Hand-held non-electric power tools-Noise
measurement code Engineering method
ISO 28927-1
Angle and vertical grinder
ISO 28927-2
Wrenches, nut-runners and screwdrivers
ISO 28927-3
Polishers and rotary, orbital and random orbital sanders
ISO 28927-9
Scaling hammers and needle scalers
ISO 28927-12
Die grinder |
|
A glance at the laboratory instruments: |
A glance at the laboratory instruments:
The meters and other items of measuring equipment should meet the correct specification for the measurement of handtransmitted
vibration and noise emission given in related ISO standard.
KENTE adopt the Brüel & Kjær instruments for measuring both sound and vibration.
A: |
A Set of Accelerometer: for measuring the vibration values, i.e. frequency-weighted acceleration in m/s2. KENTE adopt triaxial
accelerometers which are capable to simultaneously measure the vibration values in 3 directions as instructed in related ISO
standards. |
B: |
Free-field microphone: Perform high-precision acoustic measurements anywhere a robust and stable free-field microphone is
needed. |
C: |
A Platform of PULSE Analysis: the measured values of both noise and vibration are captured and recorded in the database
through the PULSE platform. The spectral density, including amplitude, frequency, cycle, wavelength, waveform, and phase shift
of test data, are shown on the computer screen for real-time analysis purpose. |
D: |
Sound Calibrator: for calibration of sound level meters and other sound measurement equipment, which is regularly calibrated
by NML R.O.C. |
E: |
Accelerometer Calibrator: for precise field calibration of vibration transducers, which is regularly calibrated by NML R.O.C. |

|
|
Measuring Noise Level |
1. Declaration and verification of noise emission values |
|
According to machinery directive 2006/42/EC, for all hand-held non-electric power tools, each instruction manual must contain, where applicable, at least the following information on airborne noise emissions: |
|
◆ |
The A-weighted emission sound pressure level (LpA) at work stations, |
◆ |
The A-weighted sound power level (LWA) by the machinery, where the A-weighted emission
sound pressure level (LpA) at workstations exceed 80 dB(A), |
◆ |
The peak C-weighted instantaneous sound pressure value at workstations (LpC, peak),
where this exceeds 63 Pa (130 dB in relation to 20 μPa). |
|
|
|
 |
|
The above values shall be determined with using a hemispherical/cylindrical measurement surface, consisting of a hemisphere standing on a cylindrical pedestal. |
|
2. Calibration of Instruments |
The instruments for measuring noise are calibrated in accordance with ISO 3677. |
 |
|
3. Execute Test |
The noise emission test conducted by KENTE with following the instructions of ISO 15744, Hand-held non-electric power tools ―
Noise measurement code ― Engineering method (grade 2) |
 |
|
4. Issue Report |
|
Measuring Vibration Level |
1. Declaration and verification of vibration emission values |
The vibration magnitude (level) is represented by the frequency-weighted rms acceleration in m/s2 of the surface of the tool,
handle or workpiece in contact with the hand.
The risk to health from vibration is affected by the frequency content of the vibration. When vibration is measured in accordance
with ISO 5349-1:2001, vibration frequencies between 8 and 16 Hz are given most weight, and frequencies above and below this
range make a smaller contribution to the measured vibration magnitude. This process is called frequency weighting. Vibration
meters intended for HAV measurement are equipped with a frequency weighting filter, to modify their sensitivity at different
frequencies of vibration. |
|
2. Calibration of Instruments |
Vibration meters and other items of measuring equipment should meet the correct specification for the measurement of handtransmitted
vibration given in ISO 8041:2005 Accelerometers (vibration transducers) and the accessories and methods for
mounting them should be carefully selected; ISO 5349-2:2001 contains useful guidance. Suppliers of vibration-measuring
instruments should be able to advise on the selection of equipment suitable for the purpose. |
 |
|
3. Execute Test |
The measurement and evaluation of human exposure to hand transmitted vibration comply with the ISO 5349. The vibration
transmitted to the hand shall be simultaneously measured and reported for three directions (X, Y, or Z) of an orthogonal
coordinate system as shown in the figure below. For a family of machinery, these directions of vibration measurement shall be
defined in the vibration test code. Three series of five consecutive tests shall be carried out on each machine tested, using a
different operator for each series.
During a vibration measurement, the rms value of the frequency-weighted acceleration is determined. It is important that the
measurement duration is long enough to allow a representative average value to be obtained.
Measurements should be made to produce vibration values that represent the average vibration for that tool or process
throughout the operator's working period during the day. It is therefore important that the operating conditions and measurement
periods etc. are selected to achieve this.
Each test run shall be such that the measurements can be carried out with an integration time in accordance with related ISO
standards, when stable operation has been established. |
  |
|
4. Issue Report |
|
Testing Processes |
|
 |
|